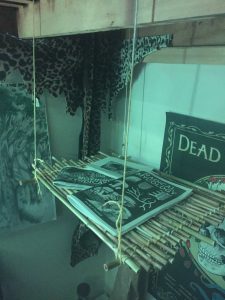
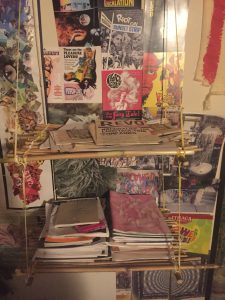
We talk a lot about food on here, and for good reason, but there is more to life and permaculture than just food. Here we will look at how to make some basic furniture out of miscanthus grass and yarn. This particular tutorial is for a suspended shelf, but the same basic idea can be extended to make nightstands, coffee tables, chairs, and even placemats, window blinds, and shower curtains!
We used miscanthus here because it is what we happened to have available, but any tall grass will work. Softer and more flexible grasses are better for mats and curtains, while stronger grasses, like Miscanthus x Giganteus or bamboo, are better for furniture. Here we used cotton yarn from the craft store, but in the future we hope to make our own yarn out of plant fibers like velvet leaf, nettle, or hemp.
Making practical appliances out of these grasses allows us to use local, renewable materials to make the things we need. Granted, a shelf made out of miscanthus grass may not last as long as a plastic shelf unit, but it requires a tiny fraction of the energy to make, and when it is no longer useful as a shelf, it can be returned to the soil as compost to feed the grass so you can make another one. When the plastic shelf unit breaks, there’s really nothing that can be done with it; it is waste.
In addition to providing useful building materials every year, the miscanthus also provides habitat for lots of beneficial insects and spiders, helps prevent erosion on steep slopes, forms a crucial part of a living fence to keep out animals and noise from roads, and provides some shade for the parking lot / basketball court. The multiple functionality, waste-free nature, and renewability of these grass-mat products clearly make them superior to industrially manufactured plastic garbage made from fossil fuels.
Making them is easy, so let’s get to it!
Harvesting the Miscanthus
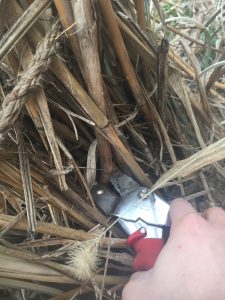
Start by using a pair of sharp pruning shears to cut the miscanthus stalks a few inches above the root mass in early winter. They should have drained out all their color and stiffened up before you cut them.
Preparing the Dowels
Again using the pruning shears, cut the stalks roughly to the desired length for the shelf (or other item) that you wish to make. It’s best to cut them a little on the long side; we will shorten them to the exact length later, but you can’t make it any longer once it’s cut.
Once cut to length, it’s time to remove the husks to leave only the sturdy and solid core. To do this, place 5-10 lengths in a bundle between your thumb and forefingers and grab with both hands. Rotate your hands in opposite directions back and forth, and slide them in and out as you do this. The torsion and frictions should remove most of the husks from the central core. Anything left can be removed from the stalks one at a time afterwards.
Assembling the Mat
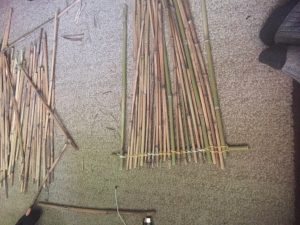
Once the pieces are cut to their approximate lengths and the husks are removed, chose two of the thickest and strongest pieces to serve as the rails.
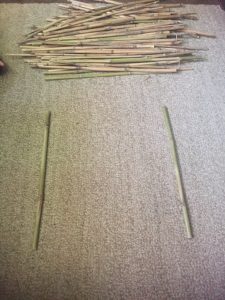
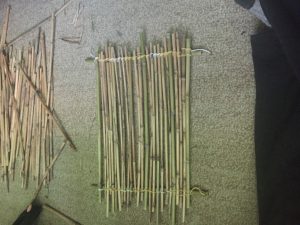
Then arrange the rest of the pieces on top of the rails. Try to space the thicker pieces evenly between the thinner ones to keep the strength relatively constant. It’s also best to have the first and last cross-piece be thicker.
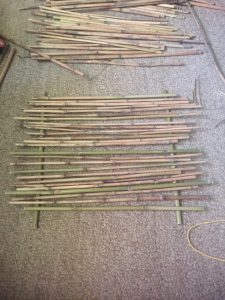
Once you have all the cross-pieces arranged on the rails, it’s time to cut them down to the exact lengths. I like to cut right after one of the nodes, if possible, so that I can place the binding on the inside of the node so to keep if from slipping off. Don’t worry if you can’t though, as long as it’s bound tightly everything should stay in place.
Binding
There are many ways to do the binding, here are just a few. Feel free to experiment with different ways of doing the binding; maybe one way looks better or it is easier for you to tie. Have fun with it and don’t worry about wether your doing it “correctly” or not. As long as it holds the dowels in place it works.
Method 1:
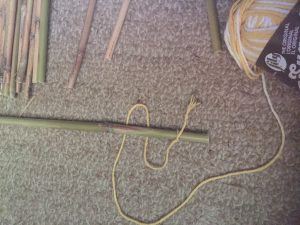
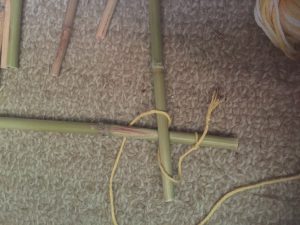
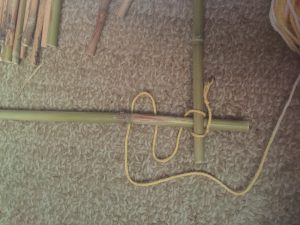
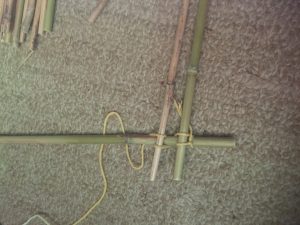
Method 2:
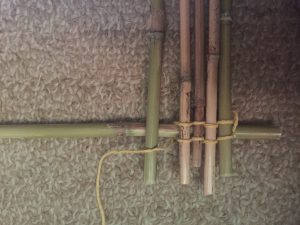
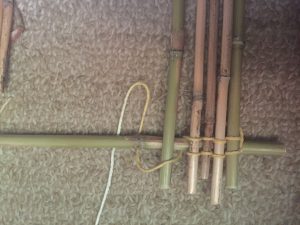
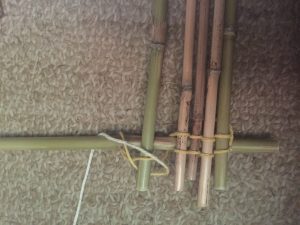
Hanging
Once the mat is complete, all that’s left to do is to hang it from a wall or the ceiling. Again, there are many ways to do this, but the figure-eight loop is a good non-permanent way to hang it up that makes removal easy.
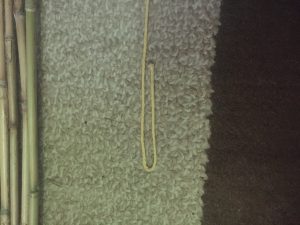
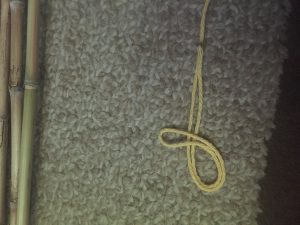
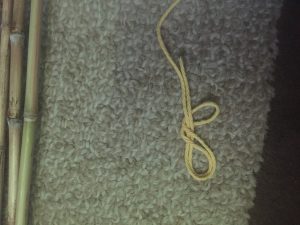
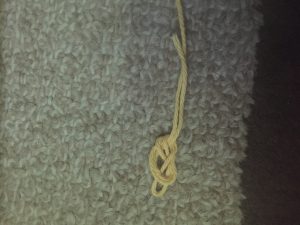
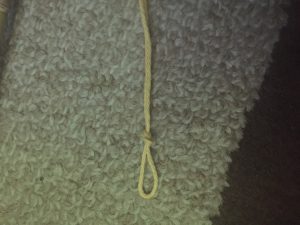
Repeat this knot on both sides of the string and then hang the mat from the ceiling or a wall, then pile it up with zines, books, potted plants, or anything else you want! These shelves can be surprisingly strong; we have put multiple large books on them with no issues.
