Black Walnuts (Juglans nigra) are an incredibly abundant wild food source capable of providing significant food security in uncertain times. The tasty nuts ripen in late September to early October and can be stored throughout the winter. They are high in protein, fiber, and healthy oils, as well as minerals like iron, manganese, magnesium, and phosphorus [75]. Prepping the nuts for storage is a fun, albeit dirty, process, and you can even use the hulls to make black walnut paint or a walnut tie-dye!
Step 1: Collecting the Nuts
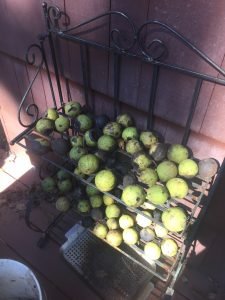
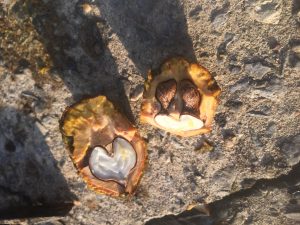
In late September to early October, look for the fruit of the black walnut. They are green balls, slightly rough, about 2-3 inches across. Sometimes they will turn black on areas where they have been bruised. The black walnut tree has smooth, oval, opposite, compound leaves with 7 to 13 leaflets. Pack up as many of these as you can find in a bucket or burlap sack and bring them home to hull.
Step 2: Hulling the Nuts
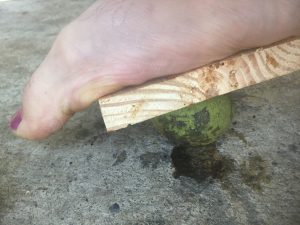
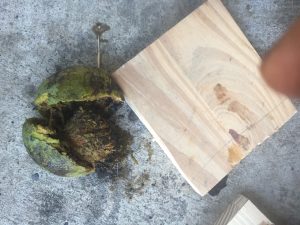
The cheapest way to hull small volumes of the nuts is to get a small wooden board, place it over the nuts, step on the board, and roll it around under your foot until the hull comes loose. At this point the hull should come right off. Be sure to wear gloves for this part, as the juice can stain your hands for up to 3 weeks and the shells can be sharp and cut your fingertips.

Step 3: Washing the Nuts
Place the hulled nuts in a bucket with a lid and fill about half way with water. We used an old 5-gal paint bucket we sourced from a local dumpster at a construction site. Any nuts that float should be removed and cracked immediately, as this is a sign that the nut will not store well. Pour off the water, replace the lid, and shake the bucket of nuts in a circular fashion for about 2 minutes to allow the friction between the nuts to dislodge any flesh left on the nut. This process also removes any sharp edges on the nuts and allows them to be handled safely with bare hands. Rinse and repeat one or two more times, until the majority of the pulp is removed. Nuts should be tan to brown. Pour the water and pulp in a wood chip swale around pawpaws and black cap raspberries (many other plants don’t like the black walnut juice, but the earthworms will love it!).
***For those who want to process high volumes of nuts quickly, our partners at Edible Acres have great video on how to do that fast and efficiently with a paint mixer, a power drill, and some hardware cloth.***
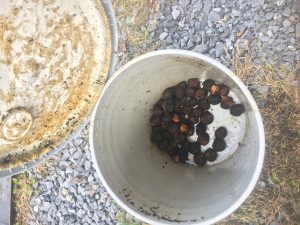
Step 4: Drying the Nuts
Place the nuts out in a single layer on a baking sheet or drying rack and place in the sun until dry. If unable to fully dry in the sun, allow them to dry in a cool place indoors with good ventilation and low humidity.
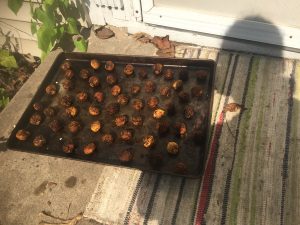
Step 5: Storing the Nuts
Once fully dried, nuts can be stored in a burlap sack or other breathable container in the cellar or cupboard for two to ten years.
Step 6: Eating the Nuts!
Walnuts can be shelled and eaten raw, roasted, used in pastries and other baked goods, and even ground into a flour. Say tuned for more walnut recipes!
